Showing posts with label Daring Bakers. Show all posts

Sunday, August 31, 2008

Eclair Meets East

Have been missing in action for some time now - for catch up's, meet up's, updates in the blogosphere and the past Daring Baker's challenges. Our bad.


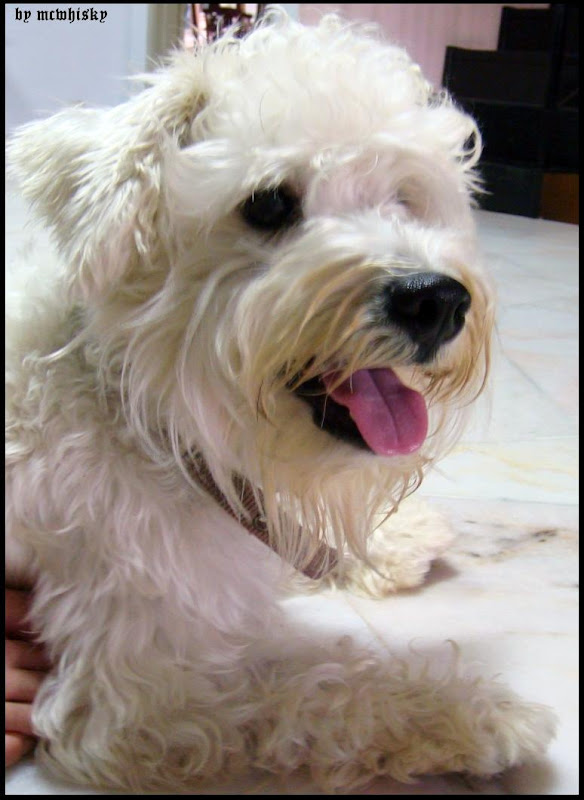
Even fur-cut or better known as a grooming session scheduled for our monstrous-looking precious pea; Rufus, wasn't running on the right time. Planned but things meant to go out of our plan. Consequently, Rufus had outgrew his pure roots; from a white miniature Schnauzer to a white furry Poodle. That's not too bad, we have ventured into a new breed though. Of pom-poms and poodles.


No, we aren't guilt-free yet. Explanations are necessarily needed to diminish our guiltiness - be it lame or logic. We have been tied up with uncountable college's brain-straining workload, final exams and multiple errands for the past months. Past month. Past months sounds better, it signifies us in a word - diligent!


Last but not least, an event to work with; the Arts & Culture @ The Podium, solely organized by the Multicultural Arts Malaysia. Arts & Culture @ The Podium opens during the weekends, every Saturday and Sunday, from 11am - 6pm at Menara Hap Seng, Kuala Lumpur. It is located in Jalan P.Ramlee, opposite Shangri-La Hotel, which is a 10 minutes walk from the nearest monorail station of Raja Chulan. There are various spread of talented artist with their work-of-art, ranging from paintings, sketches, handicrafts, custom-made jeweleries, patch works and independent T-shirt label designers. These vendors are listed as below:

Penny Yuen - Eco Products
Pei Chee - Handmade Cards
Sue - Soft Toys
Agnes - Handmade Accessories
Sarah - Handmade bags
Zou - Handmade scarf and broaches
Ahmad Fauzi, Azhar, Amir - Acrylics Painting
Gajah Gajah Gallery - Native Arts
Fatass Michelle - Cupcakes (Oh, how rude! Nah, just kidding)
Azria - Chocolate Roses
Shermaine Ng - Costume jeweleries
Angkatan Baju Malaya - Independent t-shirt label
Oh Boxes Enterprise - Gift boxes
Heavenly Beauty Enterprise - Wax products
Patches of Love - Patch works
Karen Tan - Handmade earrings
Jennifer - T-shirt printed design
The Kraft Store - craft designer's products
Hermes - Batik Art


Of arts, some may say. We will then labelled our cupcake bakesale as the art in edible form. Edible arts; the cupcakes! We are working it by being adventurous and generous. Generous, ahem.


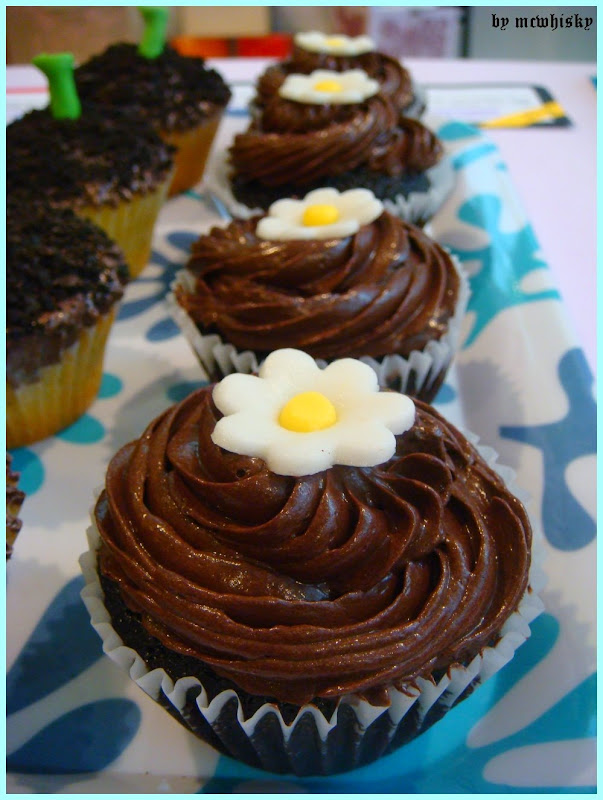
We are having a bakesale at the podium and will be selling various exotic flavors and old time favourites of cupcakes. In the meantime, here's a few good schweets to be showcased, and yet, more flavors to come:
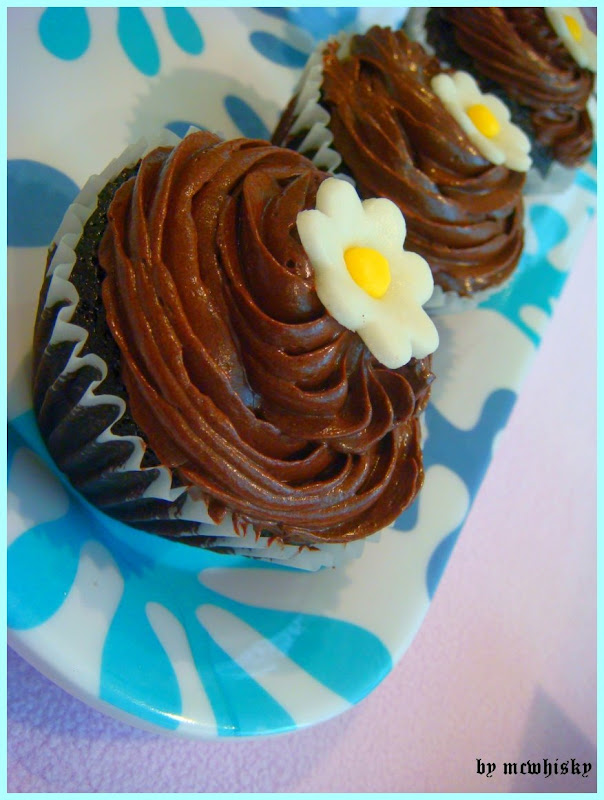


1. Moist Chocolate


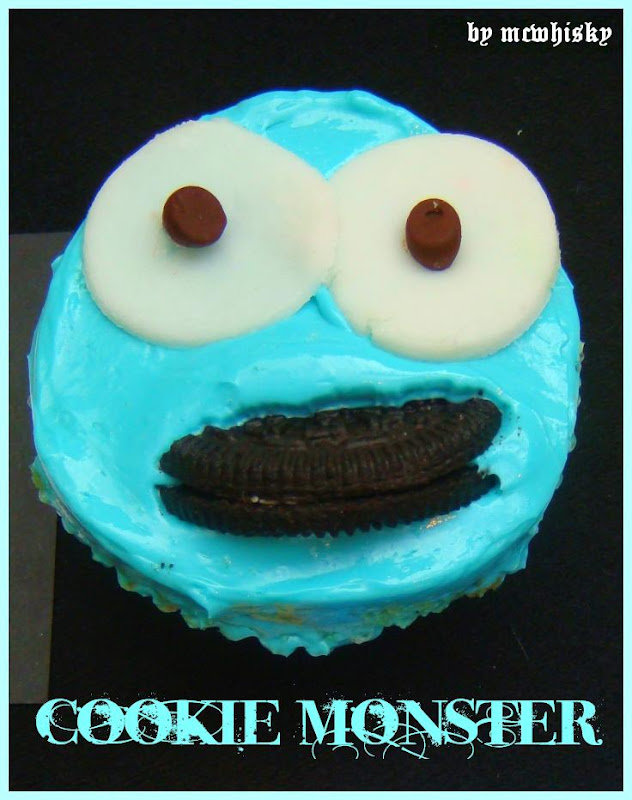
2. Cookie Monster (Flavored Cookies and Cream)


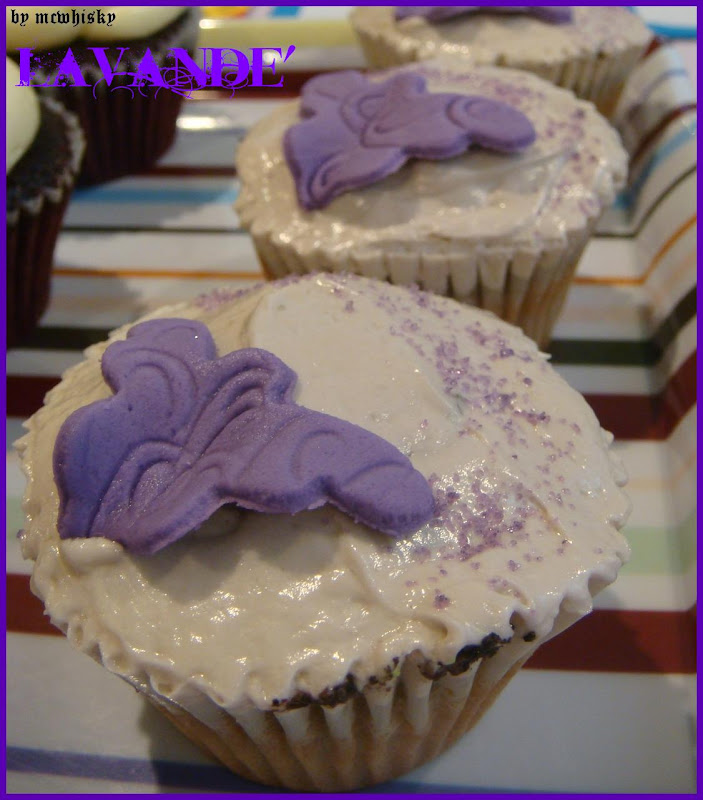
3. Lavande' (Flavored Lavender with Chantilly Cream Filling)


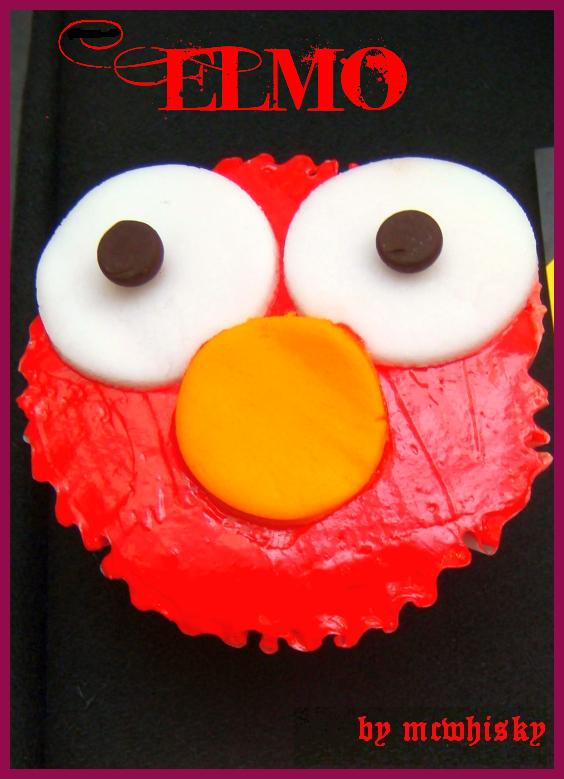
4. Elmo (Flavored Raisin And Rum)


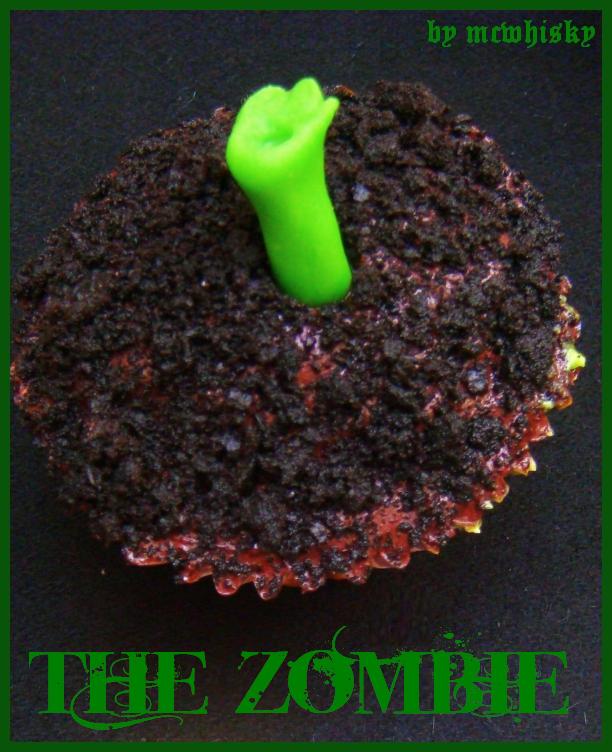
5. The Zombie (Chocolate Brownie
With Cookie Crumbs)


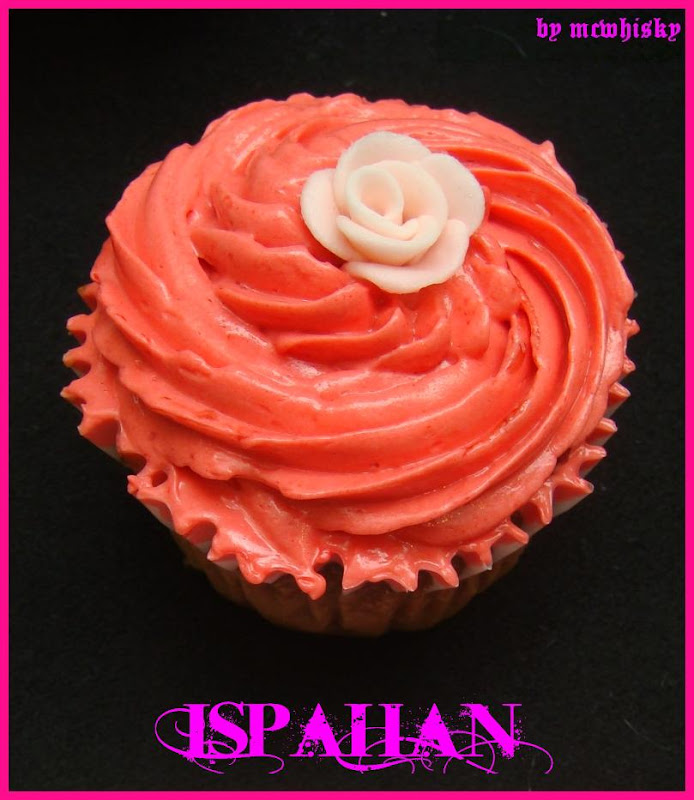
6. Ispahan (Flavored Rose Cupcake With Whole Lychee & Raspberry Cream
)


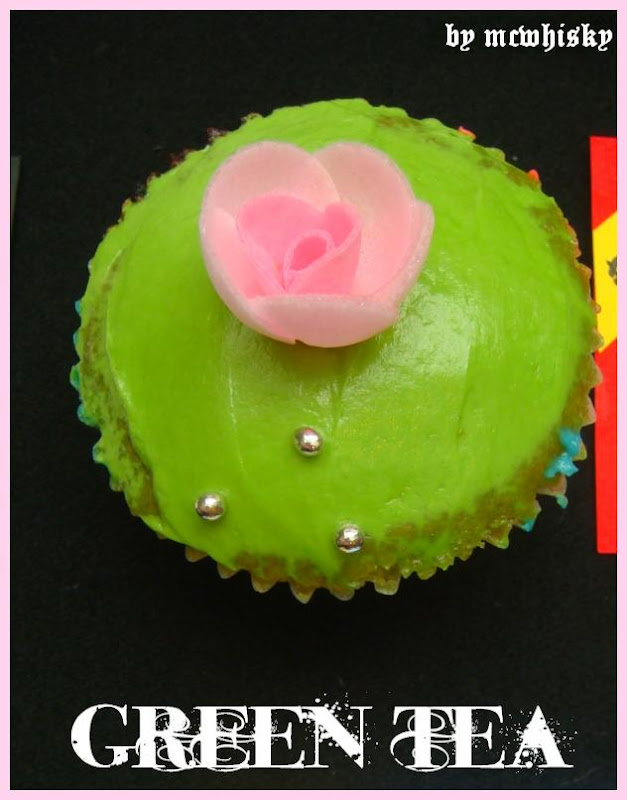
7. Green Tea (Flavored Green Tea With Chantilly Cream Filling
)


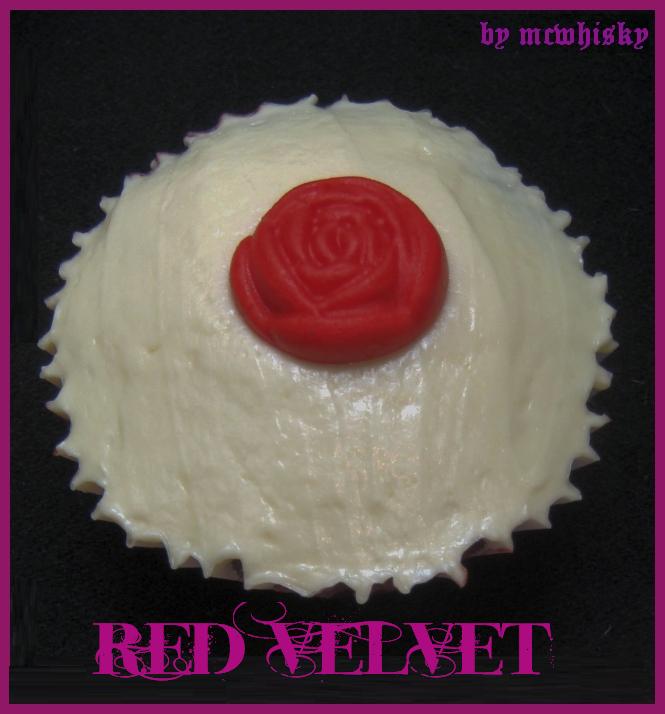
8. Red Velvet (Flavored Red Velvet Cake With Chocolate Filling And Cream Cheese Frosting
)


9. Chickadee (Flavored Moist Chocolate Cake with Banana Frosting)


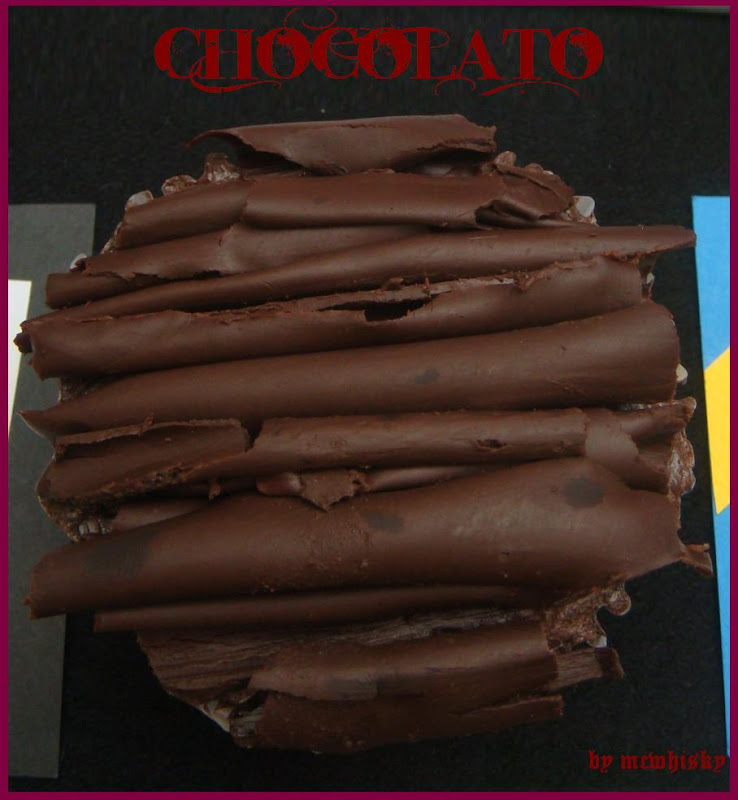
10. Chocolato (Flavored Moist Chocolate Cupcake With Chocolate Cream Filling
)

Speaking of which, these cupcakes are priced at RM3.90 each and you can get it from The Podium @ Menara Hup Seng for only:

BAKESALE : 3 LARGE CUPCAKES FOR RM10
on every weekends!


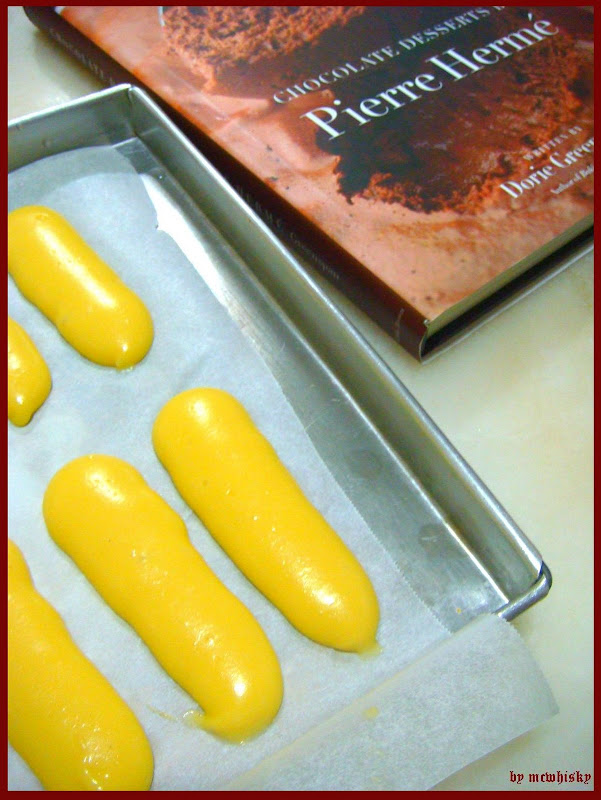
Moving onto the next topic, we have been fiddling with puff's batter lately; with the aid of Pierre Herme's eclair recipe from his book collection; a cookbook written by Dorie Greenspan: Chocolate Desserts By Pierre Hermé . After finding out that Daring Bakers Challenge for the month of August was the eclairs, we crossed our fingers tightly as to walk our plan in order. We planned to post. And this was it, our Daring Bakers Challenge #3.


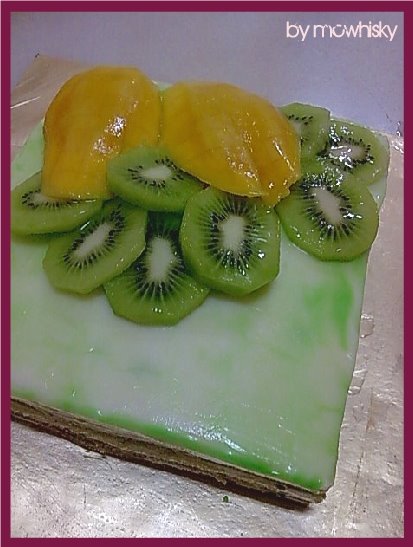
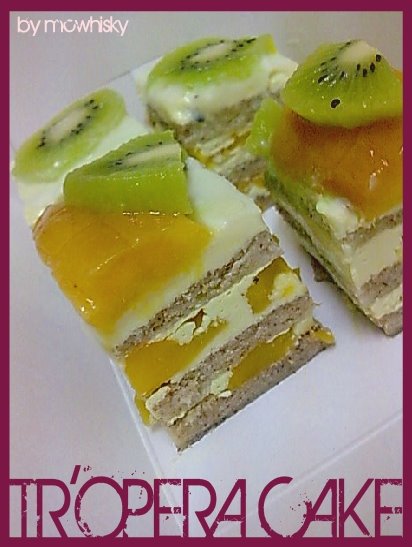
By proceeding to our third challenge of Daring Bakers, we are too happy for words when we knew that Pierre Herme's book can now put into good use. The very 1st challenge that we have participated were Cheesecake Pops, followed by the 2nd challenge; the Opera Cake. Daring Bakers challenge has always been fun and oh well, challenging. The 3rd challenge was experimental, and was hosted by Tony Tahhan and MeetaK. The challenge was made known that the eclairs must include at least one portion of the chocolate family, whereby we were given the option to choose whether to fill the eclairs with chocolate pastry cream or topped with a chocolate glaze with the recipe given, or both.


We have taken a rather exotic route where mix-and-match happens. We opted for something more "Asian" and came up with the Chocolate and Green Tea Eclairs. Alterations were made. The original recipe calls for a chocolate pastry cream instead of the one below; which is the green tea and white chocolate pastry cream.


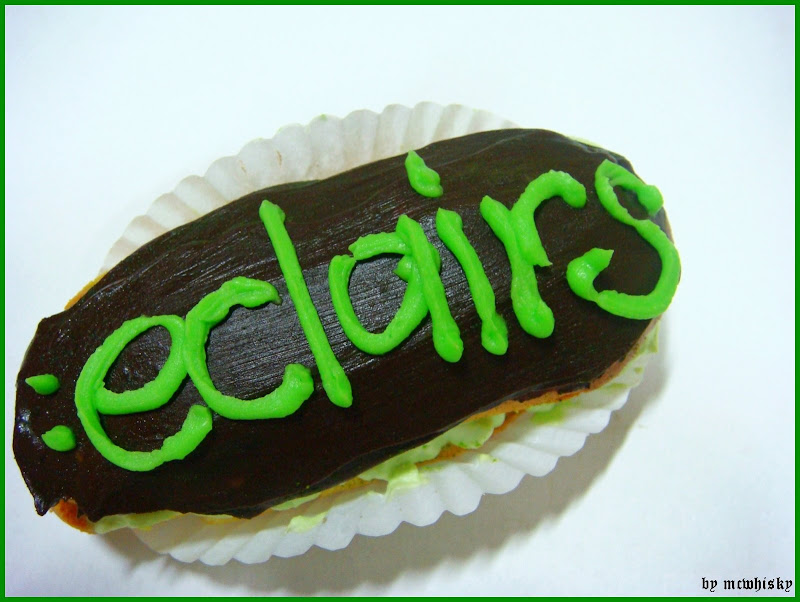
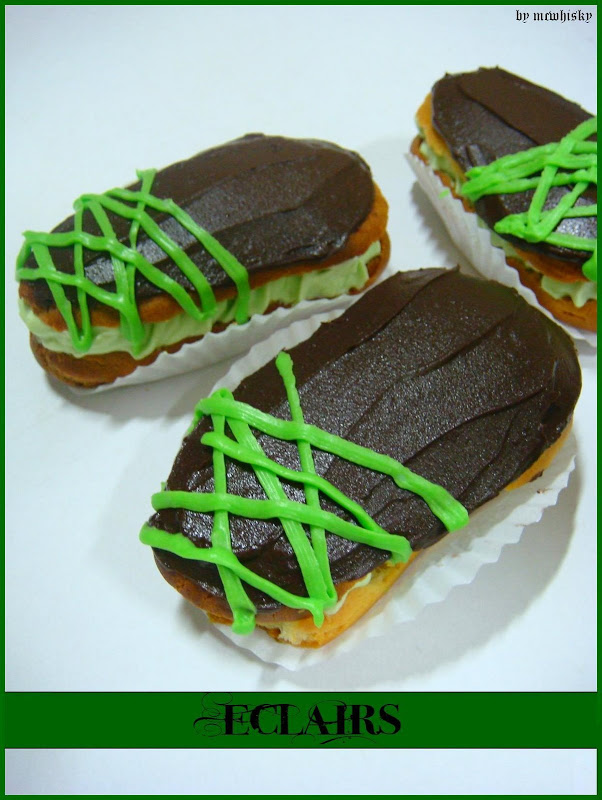
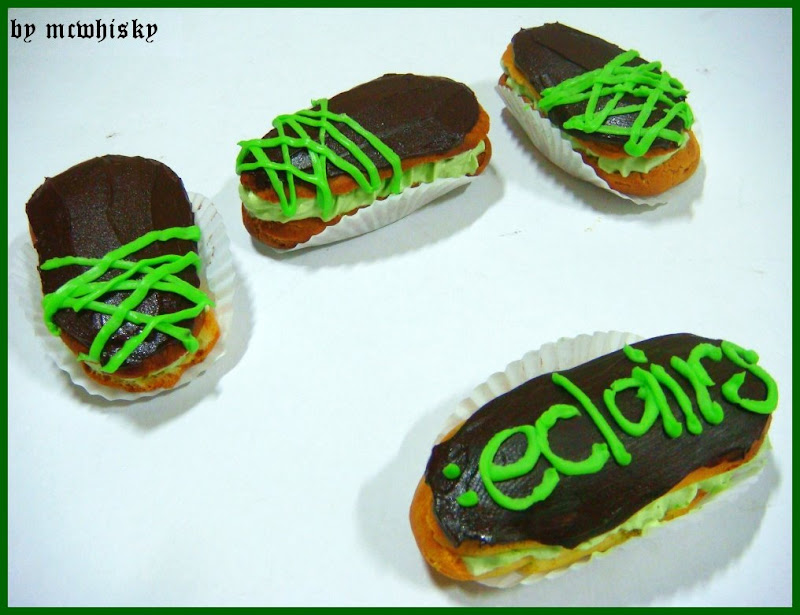
The beautifully puffed up eclair is paired up with a smooth and fluffy portion of Green Tea pastry cream with a hint of white chocolate sweetness, and then glazed with dark chocolate glazing. The eclairs became iresistible and sinful when green tea were matched up with the whites (white chocolate). Like they say, that is to spice things up.


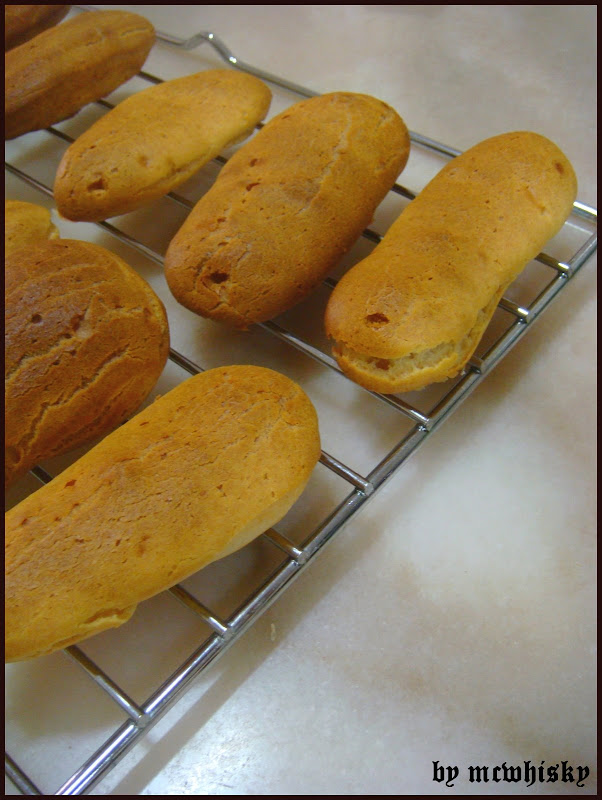
The eclairs consist of three vital parts; the puffs, the pastry cream and the glaze. Whipping up the eclairs was easy as D-O-G, baking them was tougher than we thought. The last time we tried our hands on the puffs; which was many years ago, we ended up with pretty puffed up cream puffs, but not this time. The first batch was a failed attempt. The do
ugh puffs puffed up (or shall we say, inflate?) prettily and it does looked thrice bigger during the baking session. But good things come to an end when we started to poke our nose and fiddle with the oven door. The puffs deflated, our hearts crushed onto the baking trays and we did shook our heads while checking out on our flat puffs. Flattened puffs were used as disguise for an elongated oval shaped pancake.


By googling back and forth, we were overjoyed and glad to know the problem incurred which made our puffs deflate and deform into something weirder than how the actual pancake would look like. That's what most of our gramps would say, success comes from multiple failures. That proves the point. As for the situation for deflated cream puffs, this is due to the fact that the babies are somewhat premature. Premature babies is a no-no for cream puffs. Thus, it is clearly unambiguous that underbaked is the case. Though the cream puffs may have exceeded the baking time, believe your poochie-instinct that the puffs aren't ready yet unless the puffs are baked until golden brown, firm and has freaky cracks on its surface. The recipe is followed below. We divided it into 5 parts, ranging from part A to part E; which dwells in between of Pierre Herme's Cream Puff Dough, Green Tea and White Chocolate Pastry Cream, Chocolate Glaze, Chocolate Sauce and Ways to Assemble The Perfect Eclairs.


Pierre Hermé’s Éclairs

Recipe from Chocolate Desserts by Pierre Hermé (makes 20-24 Éclairs)

A.) Pierre Hermé’s Cream Puff Dough


• ½ cup (125g) whole milk

• ½ cup (125g) water

• 1 stick (4 ounces; 115g) unsalted butter, cut into 8 pieces

• ¼ teaspoon sugar

• ¼ teaspoon salt
• 1 cup (140g) all-purpose flour

• 5 large eggs, at room temperature


1) In a heavy bottomed medium saucepan, bring the milk, water, butter, sugar and salt to the boil.
2) Once the mixture is at a rolling boil, add all of the flour at once, reduce the heat to medium and start to stir the mixture vigorously with a wooden spoon. The dough comes together very quickly. Do not worry if a slight crust forms at the bottom of the pan, it’s supposed to. You need to carry on stirring for a further 2-3 minutes to dry the dough. After this time the dough will be very soft and smooth.
3) Transfer the dough into a bowl of a mixer fitted with the paddle attachment, or using your handmixer or if you still have the energy, continue by hand. Add the eggs one at a time, beating after each egg has been added to incorporate it into the dough. You will notice that after you have added the first egg, the dough will separate, once again do not worry. As you keep working the dough, it will come back all together again by the time you have added the third egg. In the end the dough should be thick and shiny and when lifted it should fall back into the bowl in a ribbon.
4) The dough should be still warm. It is now ready to be used for the éclairs as directed above. Once the dough is made you need to shape it immediately. You can pipe the dough and the freeze it. Simply pipe the dough onto parchment-lined baking sheets and slide the sheets into the freezer. Once the dough is completely frozen, transfer the piped shapes into freezer bags. They can be kept in the freezer for up to a month.
5) Preheat your oven to 375 degrees F (190 degrees C). Divide the oven into thirds by
positioning the racks in the upper and lower half of the oven. Line two baking sheets with waxed or parchment paper.
6) Fill a large pastry bag fitted with a 2/3 (2cm) plain tip nozzle with the warm cream puff dough. Pipe the dough onto the baking sheets in long, 4 to 41/2 inches (about 11 cm) chubby fingers. Leave about 2 inches (5 cm) space in between each dough strip to allow them room to puff. The dough should give you enough to pipe 20-24 éclairs.

7) Slide both the baking sheets into the oven and bake for 7 minutes. After the 7 minutes, slip the
handle of a wooden spoon into the door to keep in ajar. When the éclairs have been in the oven for a total of 12 minutes, rotate the sheets top to bottom and front to back. Continue baking for a further 8 minutes or until the éclairs are puffed, golden and firm. The total baking time should be approximately 20 minutes. The éclairs can be kept in a cool, dry place for several hours before filling.


B.) Green Tea And White Chocolate Pastry Cream

• 2 cups (500g) whole milk

• 2 tablespoons green tea powder

• 4 large egg yolks

• 6 tbsp (75g) sugar

• 3 tablespoons cornstarch, sifted

• 7 oz (200g) white chocolate, melted

• 2½ tbsp (1¼ oz: 40g) unsalted butter, at room temperature


1) In a small saucepan, bring the milk to a boil. Mix in green tea powder into boiled milk and stir till combined. In the meantime, combine the yolks, sugar and cornstarch together and whisk in a heavy‐bottomed saucepan.

2) Once the milk has reached a boil, temper the yolks by whisking a couple spoonfuls of the hot milk into the yolk mixture. Continue whisking and slowly pour the rest of the milk into the tempered yolk mixture.
3) Strain the mixture back into the saucepan to remove any egg that may have scrambled. Place the pan over medium heat and whisk vigorously (without stop) until the mixture returns to a boil. Keep whisking vigorously for 1 to 2 more minutes (still over medium heat). Stir in the melted chocolate and then remove the pan from the heat.

4) Scrape the pastry cream into a small bowl and set it in an ice‐water bath to stop the cooking process. Make sure to continue stirring the mixture at this point so that it remains smooth.

5) Once the cream has reached a temperature of 140 F remove from the ice‐water bath and stir in the butter in three or four installments. Return the cream to the ice‐water bath to continue cooling, stirring occasionally, until it has completely cooled. The cream is now ready to use or store in the fridge. The pastry cream can be made 2‐3 days in advance and stored in the refrigerator. In order to avoid a skin forming on the pastry cream, cover with plastic wrap pressed onto the cream.


C.) Chocolate Glaze
Recipe from Chocolate Desserts by Pierre Hermé (makes 1 cup or 300g)

• 1/3 cup (80g) heavy cream

• 3½ oz (100g) bittersweet chocolate, finely chopped

• 4 tsp (20 g) unsalted butter, cut into 4 pieces, at room temperature

• 7 tbsp (110 g) Chocolate Sauce (recipe below), warm or at room temperature


1)In a small saucepan, bring the heavy cream to a boil. Remove from the heat and slowly begin to add the chocolate, stirring with a wooden spoon or spatula.

2) Stirring gently, stir in the butter, piece by piece followed by the chocolate sauce.
If the chocolate glaze is too cool (i.e. not liquid enough) you may heat it briefly
 in the microwave or over a double boiler. A double boiler is basically a bowl sitting over (not touching) simmering water. It is best to glaze the eclairs after the glaze is made, but if you are pressed for time, you can make the glaze a couple days ahead of time, store it in the fridge and bring it up to the proper temperature (95 to 104 F) when ready to glaze.

D.) Chocolate Sauce

Recipe from Chocolate Desserts by Pierre Hermé
(makes 1½ cups or 525 g)

• 4½ oz (130 g) bittersweet chocolate, finely chopped

• 1 cup (250 g) water

• ½ cup (125 g) crème fraîche, or heavy cream

• 1/3 cup (70 g) sugar


1) Place all the ingredients into a heavy‐bottomed saucepan and bring to a boil, making sure to stir constantly. Then reduce the heat to low and continue stirring with a wooden spoon until the sauce thickens.

2) It may take 10‐15 minutes for the sauce to thicken, but you will know when it is done when it coats the back of your spoon.

E.) Assembling the éclairs:
• Chocolate glaze

• Green Tea And White Chocolate Pastry Cream

• Cream Puff Dough or Eclairs


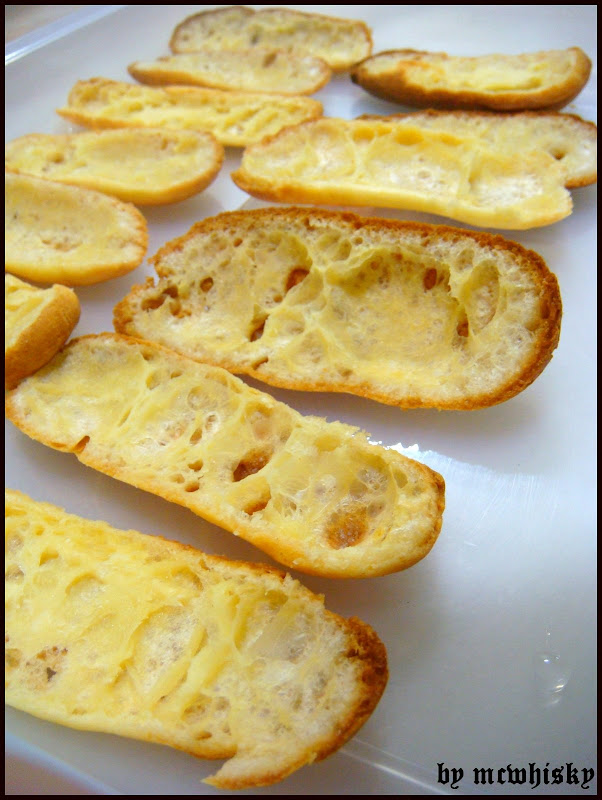
1) Slice the éclairs horizontally, using a serrated knife and a gently sawing motion. Set aside the
bottoms and place the tops on a rack over a piece of parchment paper.
2) The glaze should be barely warm to the touch (between 95 – 104 degrees F or 35 – 40
degrees C, as measured on an instant read thermometer). Spread the glaze over the tops of the éclairs using a metal icing spatula. Allow the tops to set and in the meantime fill the bottoms with the pastry cream.
3) Pipe or spoon the pastry cream into the bottoms of the éclairs. Make sure you fill the bottoms
with enough cream to mound above the pastry. Place the glazed tops onto the pastry cream and wriggle gently to settle them. If you have chilled your chocolate glaze, reheat by placing it in a bowl over simmering water, stirring it gently with a wooden spoon. Do not stir too vigorously as you do not want to create bubbles.
4) The éclairs should be served as soon as they have been filled.


Here's a sneak peek of what will prevail the up-coming post (shot below)...


And we will be counting days, just to get our darling Arisa's butt back to Malaysia - 125 days that is. Last but not least, Happy Merdeka peeps.

P/S: Season greetings Holy Molly. Amen. :-)


Wednesday, May 28, 2008

Tr'opera: Tropical Opera Cake

Our Daring Bakers Challenge #2


From the reference above, it seems that we have now proceeded to our second challenge of Daring Bakers. We are too happy for words and greatly satisfied with our 2nd challenge. The very 1st challenge that we have participated were Cheesecake Pops, and as of this month's challenge, it was our most fearful cake of all time, the Opera Cake. An Opera Cake, consisting of the main jaconde sponge, intensified flavorful syrup, buttercream, mousse, ganache and also glaze, with the usual rectangular shape as part of its identifiable features. We have always been keen to make perfect buttercream with only butter itself, and not buttercream which need to be folded with stiff egg whites. Speaking of the grand Opera cake, which involves jaconde, our unskilled physiques on whipping up a fluffy jaconde wasn't that good either. The last time we tried our hands on jaconde sheets, we ended up feasting on hard tuiles. Over baked, that might be the answer. Wait a minute, it might as well be over whipped egg whites since the batter had sunk quarterly after a few rounds of fold-cum-mix sessions with the rubber spatula. To bake or not to bake, that will be the question this time round.


The 2nd challenge was hosted by Lis and Ivonne, together with the other two newer members of DB; Fran and Shea. Baking an Opera Cake (which is originally made with chocolate, almond and coffee, with coffee buttercream) is kind of challenging, but baking an Opera Cake with light flavors and light colors (white chocolate, vanilla, lemon etc) is way upon challenging - which made this DB Challenge truly a challenge. On the same week itself, which is most probably the first week of the month of May, we sat and brainstormed the availability of flavors to be used to re-create the new Opera Cake quietly, right in front of our computer desk. Matching and pairing up the flavors was neither easy, the unsuitability of two distinctive and individual flavors might lead to bad repercussions; which spells opera cake disaster. We gathered resources and feedbacks from the kids. One suggested that the question should be served to Mom. And why Mom, we wondered for a while. Mother's Day's on the 12th of May, we were too old to be blamed - forgetfulness. That's it! Mom will then decides the flavor of this Opera Cake, specially created for her, with flavors quoted by herself.


Mom hinted that she would love to have a Mother's Day Cake which consists of real chunky hazelnuts to bite on, uber green kiwis to chowed on, white chocolate mousse to licked on and a refreshing cake which will take in passion fruit puree as well. That sounds interesting, think of bright colored fruits, well - think tropical! Thoughts of a soul which undoubtedly belongs to a novice baker whispered softly; that is a very daring move when it comes to a whole new creation of an opera cake. Daring, and our minds are mentally challenged.


The original opera cake recipe was based on Dorie Greenspan's Paris Sweets and Tish Boyle and Timothy Moriarty's Chocolate Passion. Alterations were made, starting off with the jaconde itself. The original jaconde calls for almond meal, but we go otherwise - hazelnut meal, since Mom does not favor almonds. We have
made our very own hazelnut meal to substitute the almond meal.


Hazelnut meal in our local bakery store (Malaysia) was known as grounded hazelnuts and it is blended not as fine as what most hazelnut meal was.


For homemade hazelnut meal; blend a pack of hazelnuts by an electric blender while gradually adding teaspoonfuls of flour to avoid oily paste, and last but not least, sieved the finely blended hazelnuts by spoon-pressure through a flour sifter.
Voila, hazelnut meal! Next up, the buttercream were infused with kiwi puree and passion fruit puree. On the other hand, the syrup was made out of honey with a hint of Australian wine.


As we were afraid that the tropical opera cake might taste too bland, the search for another tropical fruit as the cake's fillings were held. Ripened Alphonso mangoes goes in perfectly! We omitted the white chocolate mousse as there were excess of buttercream left in the refrigerator. The glaze was made out of white chocolate, and the temptation to brush on a thin layer of light green colored apricot glaze were done as well. As to finalize the Tropical Opera Cake as a product, slices of kiwis and halved mangoes were arranged on the surface of the cake. The recipe below will bring about 6 parts; hazelnut jaconde, honey syrup, kiwi and passionfruit buttercream, white chocolate glaze, mango cubes, and the way the cake being assembled.


Part One: Hazelnut
Jaconde
(Note: The joconde can be made up to 1 day in advance and kept wrapped at room temperature)

6 large egg whites, at room temperature
2 tbsp. (30 grams) granulated sugar
2 cups (225 grams) ground blanched hazelnuts
2 cups icing sugar, sifted
6 large eggs

½ cup (70 grams) all-purpose flour

3 tbsp. (1½ ounces; 45 grams) unsalted butter, melted and cooled


1. Divide the oven into thirds by positioning a rack in the upper third of the oven and the lower third of the oven.

2. Preheat the oven to 425◦F. (220◦C).
3. Line two 12½ x 15½- inch (31 x 39-cm) jelly-roll pans with parchment paper and brush with melted butter.

4. In the bowl of a stand mixer fitted with the whisk attachment (or using a handheld mixer), beat the egg whites until they form soft peaks. Add the granulated sugar and beat until the peaks are stiff and glossy. If you do not have another mixer bowl, gently scrape the meringue into another bowl and set aside.
5. If you only have one bowl, wash it after removing the egg whites or if you have a second bowl, use that one. Attach the paddle attachment to the stand mixer (or using a handheld mixer again) and beat the hazelnuts, icing sugar and eggs on medium speed until light and voluminous, about 3 minutes.
6. Add the flour and beat on low speed until the flour is just combined (be very careful not to over mix batter)

7. Using a rubber spatula, gently fold the meringue into the almond mixture and then fold in the melted butter. Divide the batter between the pans and spread it evenly to cover the entire surface of each pan.

8. Bake the cake layers until they are lightly browned and just springy to the touch. This could take anywhere from 5 to 9 minutes depending on your oven. Place one jelly-roll pan in the middle of the oven and the second jelly-roll pan in the bottom third of the oven.
9. Put the pans on a heatproof counter and run a sharp knife along the edges of the cake to loosen it from the pan. Cover each with a sheet of parchment or wax paper, turn the pans over, and unmould.

10. Carefully peel away the parchment, then turn the parchment over and use it to cover the cakes. Let the cakes cool to room temperature.


Part Two: Honey Syrup

(Note: The syrup can be made up to 1 week in advance and kept covered in the refrigerator.)


½ cup (125 grams) water

⅓ cup (65 grams) granulated sugar
2 tablespoons honey
2 tablespoons Australian wine


1. Stir all the syrup ingredients together in the saucepan and bring to a boil.

2. Remove from the heat and let cool to room temperature.


Part Three: Kiwi & Passionfruit Buttercream

(Note: The buttercream can be made up to 1 month in advance and packed in an airtight container. If made way in advance, you can freeze the buttercream. Alternatively you can refrigerate it for up to 4 days after making it. To use the buttercream simply bring it to room temperature and then beat it briefly to restore its consistency.)


1 cup (100 grams) granulated sugar

¼ cup (60 grams) water

1 tablespoon pure vanilla extract
1 large egg
1 large egg yolk

1¾ sticks (7 ounces; 200 grams) unsalted butter, softened

2 kiwis, pureed and strained through sift (juice wanted)
2 passionfruit, medium-sized, pureed ( juice wanted)


1. Combine the sugar, water and vanilla extract in a small saucepan and warm over medium heat just until the sugar dissolves.

2. Continue to cook, without stirring, until the syrup reaches 225◦F (107◦C) on a candy or instant-read thermometer. Once it reaches that temperature, remove the syrup from the heat.
3. While the syrup is heating, begin whisking the egg and egg yolk at high speed in the bowl of your mixer using the whisk attachment. Whisk them until they are pale and foamy.

4. When the sugar syrup reaches the correct temperature and you remove it from the heat, reduce the mixer speed to low speed and begin slowly (very slowly) pouring the syrup down the side of the bowl being very careful not to splatter the syrup into the path of the whisk attachment. Some of the syrup will spin onto the sides of the bowl but don’t worry about this and don’t try to stir it into the mixture as it will harden!
5. Raise the speed to medium-high and continue beating until the eggs are thick and satiny and the mixture is cool to the touch (about 5 minutes or so).

6. While the egg mixture is beating, place the softened butter in a bowl and mash it with a spatula until you have a soft creamy mass.

7. With the mixer on medium speed, begin adding in two-tablespoon chunks. When all the butter has been incorporated, raise the mixer speed to high and beat until the buttercream is thick and shiny.

8. At this point add in your kiwi juice and passionfruit puree. Beat for an additional minute or so.

9. Refrigerate the buttercream, stirring it often, until it’s set enough (firm enough) to spread when topped with a layer of cake (about 20 minutes).


Part Four: White Chocolate Glaze
(Note: It’s best to make the glaze right when you’re ready to finish assembling the cake.)


14 ounces white chocolate, coarsely chopped
½ cup heavy cream (35% cream)

1. Melt the white chocolate with the heavy cream. Whisk the mixture gently until smooth.
2. Let cool for 10 minutes and then pour over the chilled cake. Using a long metal cake spatula, smooth out into an even layer.
3. Place the cake into the refrigerator for 30 minutes to set.


Part Five: Mango Cubes

(Note: It’s best to cubed the mangoes before assembling started.)


5 large Alphonso mangoes


1. Peel the skin of the mangoes with a vegetable peeler.
2. Cut the mangoes with a knife in the size of 1 inch cubes.
3. Set aside.


Assembling the Opera Cake

(Note: The finished cake should be served slightly chilled. It can be kept in the refrigerator for up to 1 day).

  • Jaconde
  • Honey syrup
  • Kiwi and Passionfruit buttercream
  • Mango cubes
  • White chocolate glaze
  • Some light green colored apricot glaze (optional)
  • 1 large Alphonso mango for decoration (optional)
  • 2 large kiwis for decoration (optional)
1. Line a baking sheet with parchment or wax paper.
2. Working with one sheet of cake at a time, cut and trim each sheet so that you have two pieces (from each cake so you’ll have four pieces in total): one 10-inch (25-cm) square and one 10 x 5-inch (25 x 12½-cm) rectangle.
3. Place one square of cake on the baking sheet and moisten it gently with the honey syrup.
4. Spread about one-third of the kiwi and passionfruit buttercream over this layer.
5. Place half of mango cubes onto the buttercream.

6. Top with the two rectangular pieces of cake, placing them side by side to form a square. Moisten these pieces with the honey syrup.

7. Spread another third of the buttercream on the cake and spread remaining mango cubes on the cake.
8. Then top with the third square of jaconde. Use the remaining honey syrup to wet the jaconde. Spread the remaining buttercream on top of the final layer of jaconde and then refrigerate until very firm (at least half an hour).

9. Make the white chocolate glaze and after it has cooled, pour/spread it over the top of the chilled cake. Refrigerate the cake again to set the glaze.
10. Once set, lightly brush top of the glaze with the green colored apricot glaze. Topped the cake with sliced mangoes and sliced kiwis.
11. Serve the cake slightly chilled. This recipe will yield approximately 20 servings.


As for the leftover jaconde, we assemble 4 layers of jaconde brushed with honey syrup, with slices of kiwis in between of the kiwi and passsionfruit buttercream, and topped off with the white chocolate glaze. The other opera cake to date; a Kiwi Opera Cake! We feasted on this baby and was fully satisfied with the result. The buttercream was creamy and not overly sweet, and we recommend that the Opera Cake should be eaten at room temperature. Or maybe slightly cold.


After a bite out of the Tr'opera Cake (Tropical Opera Cake), we make comparisons and came to a verdict that the Tr'opera Cake tasted way better than the Kiwi Opera Cake. The very sweet and juicy Alphonso mangoes were addictive, which turns out to be the main attraction of the cake. After combining the three tropical fruits; mango, kiwi and passion fruit (which is also Mom's favorite), there was no doubt that the thirst-quencher cake tasted refreshingly luscious, best eaten in hot and humid weather. However, we will definitely increase the amount of whipping cream in the white chocolate glaze as many had told us that the glaze is too sweet. Oh, here goes the meassage; Happy Belated Mom's Day, Mom! And to all mommies out there!


Wednesday, April 30, 2008

Cheesecake Pops: When Cheesecake Falls For Lolly Sticks

Our Daring Bakers Challenge #1


This post should be posted up right on the 27th of April, which is Sunday and shoot, we've just managed to get the baked goods done on the day before. And these dainty looking miniature Popsicles were all gone the next day after. That was fast. Without hesitation and worries for contributing excess calories into our body system, we've grab a few sticks to kick start our pulses. It WAS as good and delish as it claimed to be.


Procrastinating is killing us, and we have just thought it over; well, better late than never. Though we were 3 days late for posting this up. We're very determined now; as this is our first Daring Bakers Challenge to be. Our very first task
is cheese on sticks; which were called as Cheesecake Pops to other bakers.


Daring Bakers (DB) Challenge for the month of April; Cheesecake Pops from a dessert cookbook titled "Sticky, Chewy, Messy, Gooey", written by Jill O'Connor. April's DB Challenge were hosted by Elle from Feeding My Enthusiasm and Deborah from Taste And Tell. We were totally excited as it was our first DB challenge. Enthusiastically joyful when the lip smacking cheesecake pops were done.


Days before the big day (of messing around in the kitchen), we were strolling around the city in the hope of getting ourselves a humongous packet of lollipop sticks. From bakery stores to big marts, none were to be found. Alas, after searching for days, we've gave up and get down and dirty with a chock full of lean wooden sticks. Let's say, skewers, which were made out of wood or may be bamboo. Each and every single stick were measured and cut into a length of approximately 3.5 inches. We hate to say this, but many were dumped into the bin due to the icky splinters, frustrating. Very frustrating.

Cheesecake Pops (Yields: 30 – 40 Pops)

5 8-oz. packages cream cheese at room temperature

2 cups sugar

¼ cup all-purpose flour

¼ teaspoon salt

5 large eggs

2 egg yolks

2 teaspoons pure vanilla extract

¼ cup heavy cream

Boiling water as needed

Thirty to forty 8-inch lollipop sticks

1 pound chocolate, finely chopped – you can use all one kind or half and half of dark, milk, or white (Alternately, you can use 1 pound of flavored coatings, also known as summer coating, confectionary coating or wafer chocolate – candy supply stores carry colors, as well as the three kinds of chocolate.)

2 tablespoons vegetable shortening

(Note: White chocolate is harder to use this way, but not impossible)

Assorted decorations such as chopped nuts, colored jimmies, crushed peppermints, mini chocolate chips, sanding sugars, dragees) - Optional

1. Position oven rack in the middle of the oven and preheat to 325 degrees F. Set some water to boil.
2. In a large bowl, beat together the cream cheese, sugar, flour, and salt until smooth. If using a mixer, mix on low speed. Add the whole eggs and the egg yolks, one at a time, beating well (but still at low speed) after each addition. Beat in the vanilla and cream.
3. Grease a 10-inch cake pan (not a springform pan), and pour the batter into the cake pan. Place the pan in a larger roasting pan. Fill the roasting pan with the boiling water until it reaches halfway up the sides of the cake pan. Bake until the cheesecake is firm and slightly golden on top, 35 to 45 minutes.
4. Remove the cheesecake from the water bath and cool to room temperature. Cover the cheesecake with plastic wrap and refrigerate until very cold, at least 3 hours or up to overnight.

5. When the cheesecake is cold and very firm, scoop the cheesecake into 2-ounce balls and place on a parchment paper-lined baking sheet.

6. Carefully insert a lollipop stick into each cheesecake ball. Freeze the cheesecake pops, uncovered, until very hard, at least 1 – 2 hours.

7. When the cheesecake pops are frozen and ready for dipping, prepare the chocolate. In the top of a double boiler, set over simmering water, or in a heatproof bowl set over a pot of simmering water, heat half the chocolate and half the shortening, stirring often, until chocolate is melted and chocolate and shortening are combined. Stir until completely smooth. Do not heat the chocolate too much or your chocolate will lose it’s shine after it has dried. Save the rest of the chocolate and shortening for later dipping, or use another type of chocolate for variety.
8. Alternately, you can microwave the same amount of chocolate coating pieces on high at 30 second intervals, stirring until smooth.
9.Quickly dip a frozen cheesecake pop in the melted chocolate, swirling quickly to coat it completely. Shake off any excess into the melted chocolate. If you like, you can now roll the pops quickly in optional decorations. You can also drizzle them with a contrasting color of melted chocolate (dark chocolate drizzled over milk chocolate or white chocolate over dark chocolate, etc.) Place the pop on a clean parchment paper-lined baking sheet to set. Repeat with remaining pops, melting more chocolate and shortening (or confectionery chocolate pieces) as needed.

10. Refrigerate the pops for up to 24 hours, until ready to serve.


We took more than stated, to bake the cheesecake. An hour plus. We covered half of the pops with white chocolate while the remaining was covered in dark chocolate. A mix of shortening blends perfectly into the chocolate-dipping pool, where chocolate were easily set once the cheesecake pops had finished swimming and swirling. Toppings were sprinkled onto the pops before the chocolate has set entirely. A block of Polytherene was used as to keep the cheesecake pops in an upright position to let the pops set properly. We were afraid that the toppings on the half-set pops might fall off if they were laid onto the tray - lined parchment paper. Toppings include toasted almond flakes, finely milled digestive biscuits, finely milled black sesame and colorful hundreds and thousands.


Since we have some chocolate as leftovers, it was then melted and piped onto the cheesecake pops. A cute-looking rodent was created. A female rodent with a rose bud on its ear, to be exact.


The other two came along; a pooch and a cold fat lard; a piggy. Poor quality shots, because we were in a hurry. The verdict; the cheesecake pops were creamy and its luscious cheese filling is the star in its own form. It may looked unimpressive, but taste wise, the kids are giving in their two-thumbs up.